Have you ever looked at your desk and thought something was missing? A custom mouse pad can transform an ordinary setup into a workspace or gaming station that truly reflects who you are. Whether you want to display your gamertag, your team logo, custom artwork, or simply a color that matches your peripherals, customization offers total freedom that standard models can’t provide. At BuddyPad, we’ve seen this demand explode since 2022, driven by setup culture and content creators who care about every detail of their space. In this article, we’ll guide you step-by-step to create your own custom mouse pad, from materials to final result, in 5 clear, actionable steps.
Why customize your mouse pad?
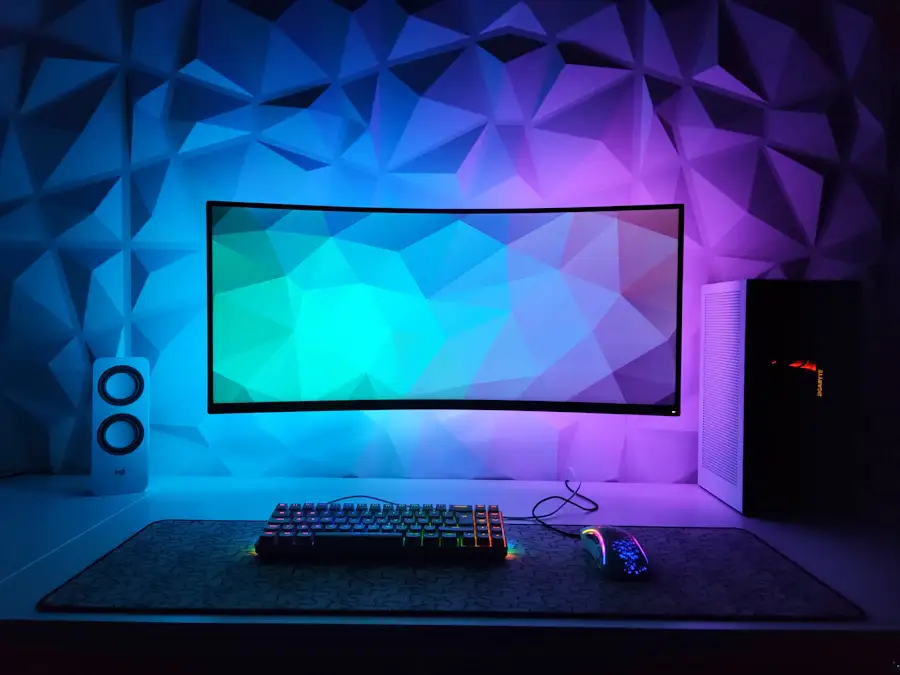
A mouse pad is no longer just a functional accessory. It occupies significant surface area on your desk - often between 600 x 300 mm and 900 x 400 mm for an XXL format - and becomes a central visual element of your setup. Customizing yours means caring for your space’s identity as much as its performance.
An object that’s both aesthetic and functional
A mouse pad’s surface touches two dimensions: wrist comfort and optical sensor precision, but also the overall ambiance of your workstation. A well-chosen design can unify disparate elements - keyboard, monitor, cables - into immediate visual coherence. If you want to go further on this point, our article on creating a cohesive and minimalist setup will give you concrete ideas.
Gift, branding, or personal expression
A custom mouse pad works equally well as an original gift, a branding tool for streamers, or an esports team asset. The average investment ranges from 25 to 60 euros depending on size, quantity, and finish level, making it an accessible option.
The 5 steps to create your custom pad
Here’s the method we recommend to get professional results on your first order.
Step 1 - Define format and dimensions
Start by choosing the size. The most common formats are:
- Medium (400 x 300 mm) - office use or low-sensitivity gaming
- Large (600 x 300 mm) - versatile, covers keyboard and mouse
- XXL (900 x 400 mm or larger) - desk mat that dresses your entire desk
Size directly influences graphic rendering: a complex visual benefits from a larger format.
Step 2 - Prepare your graphics file
This is the most technical step. Your file must be 300 DPI minimum to avoid blurry printing. Work in RGB if you’re using Photoshop or Illustrator, and plan for 3 to 5 mm bleed on the edges. Accepted formats are generally PNG, JPG, or high-resolution PDF.
A visual that’s blurry on screen will be systematically blurry on the pad. Check resolution before any validation.
Step 3 - Choose the right surface fabric
The surface determines mouse behavior. There are two main families:
- Soft cloth surface - ideal for optical sensor mice, precise control, wrist comfort
- Hard surface - faster, less friction, recommended for competitive FPS
For most mixed gaming/office uses, the micro-woven surface offers the best compromise.
Step 4 - Validate the non-slip base
The natural rubber sole ensures your pad stays in place, even during intense sessions. Verify that thickness exceeds 3 mm for good cushioning and optimal stability on all desk surface types.
Step 5 - Order and review the mockup
Most services offer a digital preview (the mockup) before printing. Take time to check colors, margins, text readability. A correction at this stage costs zero euros; a correction after printing costs much more.
What alternatives if you don’t want to start from scratch?
Creating a 100% custom pad requires time and graphic design skills. If you want an original result without personal design, two options are available.
The first: opt for partially customizable models, where you choose colors and typography on an existing base. The second: explore already available collections. Our custom gaming mouse pads offer designs created for gamers, with quality finishes and various formats. For those who want to add a luminous dimension to their setup, our original LED and RGB designs are a spectacular alternative.
If you’re still hesitating on your criteria - size, surface, thickness - our complete guide how to choose your mouse pad answers all your questions with concrete comparisons. You’ll also find other practical advice on our blog, regularly updated with setup guides and product reviews.
Frequently asked questions
What software should I use to create my custom mouse pad design?
The most suitable software options are Adobe Photoshop, Illustrator, or the free alternative GIMP for raster files. Make sure to work at 300 DPI minimum and export in PNG or high-resolution PDF to guarantee sharp printing.
How much does a single custom mouse pad cost?
The price for a single custom pad generally ranges from 25 to 60 euros depending on format, thickness, and chosen provider. Bulk orders often reduce unit cost by 30 to 40%.
Can you wash a custom mouse pad without damaging the visual?
Yes, as long as you wash it by hand in cold water with mild soap, then let it dry flat. Avoid the washing machine and especially the dryer, which can detach the rubber base and alter printed colors.
Your setup deserves a pad that reflects you
Creating a custom mouse pad means combining functionality and visual identity in a single accessory. By following these 5 steps - format, file, surface, base, and validation - you maximize your chances of getting professional results on the first try. Want to find inspiration or get started right away? Visit our shop to discover the full BuddyPad selection and find the ideal pad for your setup.